Images are a big part of any website on the Internet and that is why in this blog post we’re going to discuss how to optimize your images so that people can find them and view them through search engines.
The reason why pictures and videos are so popular on the Internet is because humans are generally visual beings.
By including lots of visual parts to your blog post you can engage people more and also explain something a lot easier with a simple picture.
The thing is taking a picture and posting it up on the Internet is not as simple as it should be.
If you learn the few simple tips that I will provide in this post you can not only improve your chances of being found on search engines but also provide a better user experience.
Create and Optimize Images Tutorial
Finding The Perfect Images
If you are planning on using images but don’t have any of your own then there are plenty of options where you can find and use free high-quality pictures for your website.
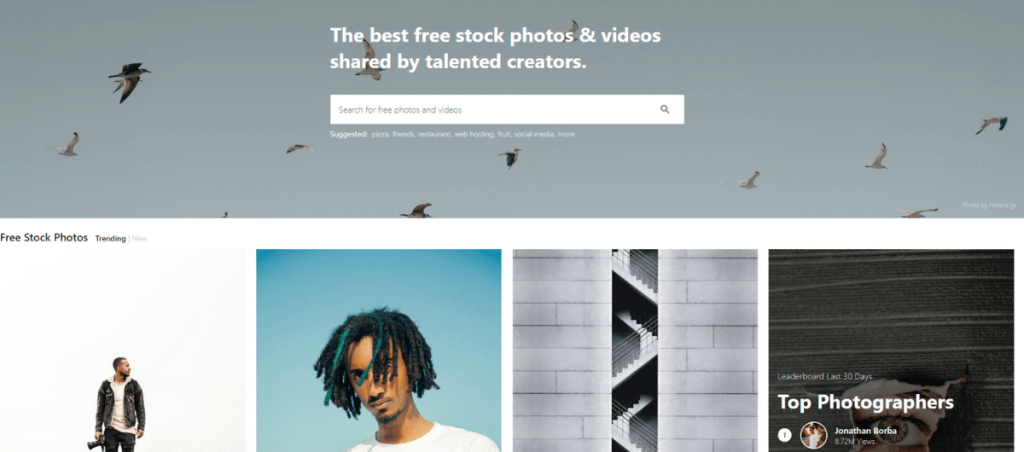
It’s as simple as typing into Google free copyright images or go to a page that I always recommend and that is pexels.com
Pexels is like a search engine for copyright free images as its pulls images from other similar websites and places them in one easy to navigate page.
At any given point there are millions of pictures and videos which are royalty free and free to use.
Best of all it is constantly growing with more and more content so if something is missing you can find it down the track.
Editing Your Images
The beautiful thing about using copyright-free images that you either download from pexel.com or upload yourself is that you can edit them however you want.
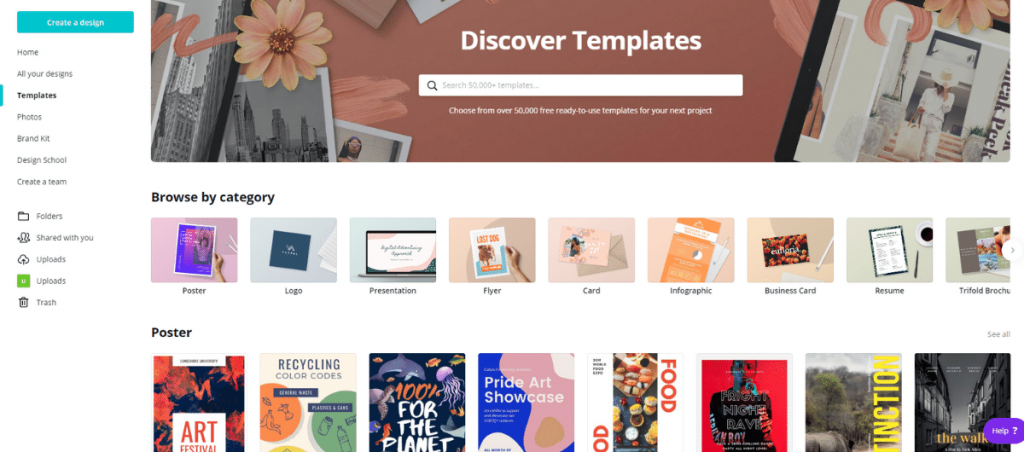
Obviously there are hundreds of tools available for editing images but one that I found myself using quite a lot is Canva
The reason being is that it is extremely simple to use, you can edit your pictures on your phone and computer and it’s free.
There is a paid version which gives you more options but if you are only just starting out I would recommend sticking to the basic option.
Canva has a huge library of graphics, free images, free text fonts that use the simplest drag and drop feature I have come across.
And because of this simple drag-and-drop feature, I reckon it is one of the best tools to use for beginners.
Literally, within a short period of time, you can be creating professional-looking graphics that you could even sell to potential online clients.
Compress and Optimize your images
One of the most annoying things when browsing a website is when it is extremely slow to load.
What’s even worse is when you finish your session on that website and realize you have used up quite a bit of your internet allowance
On its own a websites should be very quick at loading but the moment you add pictures and video to it the size of it can easily skyrocket.
The bigger the website the slower it is going to be at loading for your audience.
And the slower it is the more likelihood people will just not come back to your website, which in turn is not a good thing as you do want as much repeat audiences as possible.
Luckily for you there are plenty of amazing programs on the Internet for image compression. One that I found to be the simplest and Free is TinyPNG.
This tool is a simple drag and drop kind of tool which allows you to upload up to 20 images at a time.
What I love about tinyPNG is that afterwords you can see how significant the changes are to the image without compromising on the quality of that.
I recommend using tinyPNG every single time you plan on uploading images not only to save on your audiences bandwidth but also to make you images load much quicker.
Finding Keywords To Optimize You Images Alt Text
Now that you have your images created and optimized it is time to find keywords that are popular and easy to rank for.
The reason why you want to research the right keywords is because by doing so, you maximize your chances of appearing higher in search engines.
This in turn allows more people to be able to find your valuable content.
See if you decided to use very generic keywords such as “Food” then you would have to compete with millions of established websites for the keyword.
It’s not impossible to reach page 1 but it could take years and years to get there.
On the other hand if you decided to use longer keywords such as “delicious food to eat at a picnic” you would be placed in front of people that are searching for that particular keyword.
Now the beauty about SEO is that if your website gets bigger and bigger when it comes to one particular topic it also get authority in the topic.
Meaning that after a while the longer keywords begin pushing your website up in the rankings for the most popular keywords.
So that is why you should definitely start with easy to rank keywords and then focus on the more popular ones.
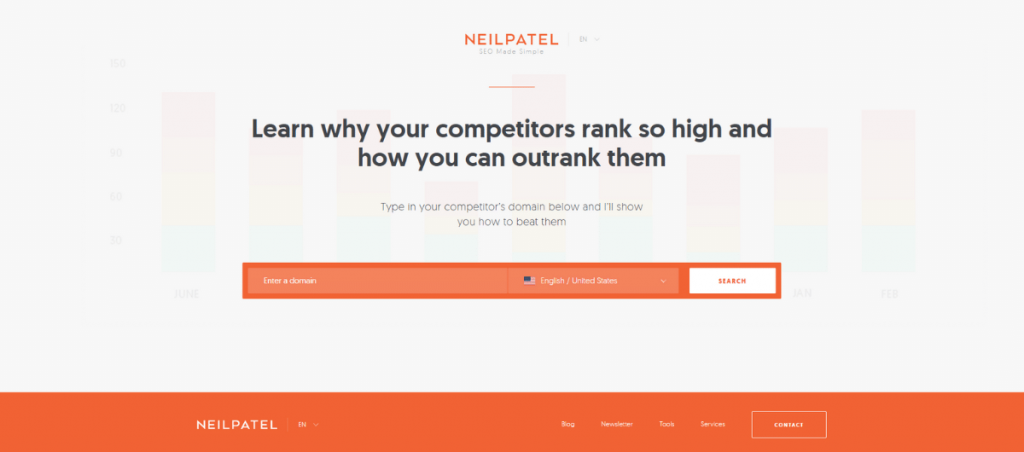
The tool I recommend for Keyword research is Ubersuggest
It’s a Free tool that provides you with plenty of information and plenty of related keywords you can use to create more content for your website.
Check out this article for more information about how to research your keywords for SEO
The Importance of a Title and Alt Tags
So once you upload a picture onto your website, Google has somewhat of an idea what it is.
This is due to artificial intelligence and comparison with similar images that have been uploaded over the years.
This still doesn’t mean that Google knows exactly what you are trying to promote with your images.
That is why you need to make sure that the title of the image and the alt tags provide keywords that you are planning on ranking in Google or any other search engine.
For example you could upload a picture of food and the title and alt tag could be “delicious food to eat at a picnic”.
By doing this Google can now place it under that specific keyword so that when people search for it your images appear.
Additionally, if the images keywords match with what you are writing about in the post it will help out with search engine rankings for your blog for those specific keywords as well.
to edit the title of your images, simply select them before uploading them to your WordPress website, right click on them and select the option rename.
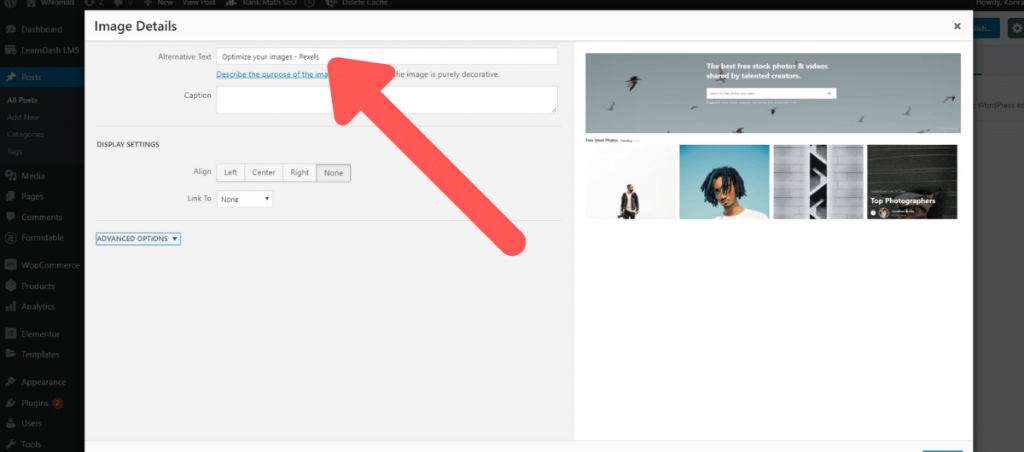
Once you rename the title and upload it to WordPress you can change the alt tag in the media options, or if you are using Gutenberg in the right hand side column
Create and Optimize Your Images Conclusion
Quite simply it is important to make sure your images are of high quality and also optimized as best as possible.
By providing high quality visual pictures and a fast loading website you are bound to have people come back to your website because you have provided such a good user experience.
Now if you found this article helpful in any way, please make sure to share it with others who could find this information useful.
On top of that please leave a comment below to show me how you have optimized your images and if you have any questions.
I will happily answer any questions about how to create and optimize your images.